The Polymer App Toolbox is a collection of components, tools and templates for building Progressive Web Apps with Polymer.
Follow the instructions below to install, build, and deploy a project using an App Toolbox template in less than 15 minutes.
Install the Polymer CLI
-
Install an active LTS version of Node.js (4.x or 6.x). The current version (7.x) should work, but is not officially supported.
-
If you don't have bower installed, install it
npm install -g bower -
Install the Polymer CLI
npm install -g polymer-cli
Initialize your project from a template
-
Create a new project folder to start from
mkdir my-app cd my-app -
Initialize your project with an app template
polymer init starter-kit
Serve your project
The App Toolbox templates do not require any build steps to get started developing. You can serve the application using the Polymer CLI, and file changes you make will be immediately visible by refreshing your browser.
polymer serve --open
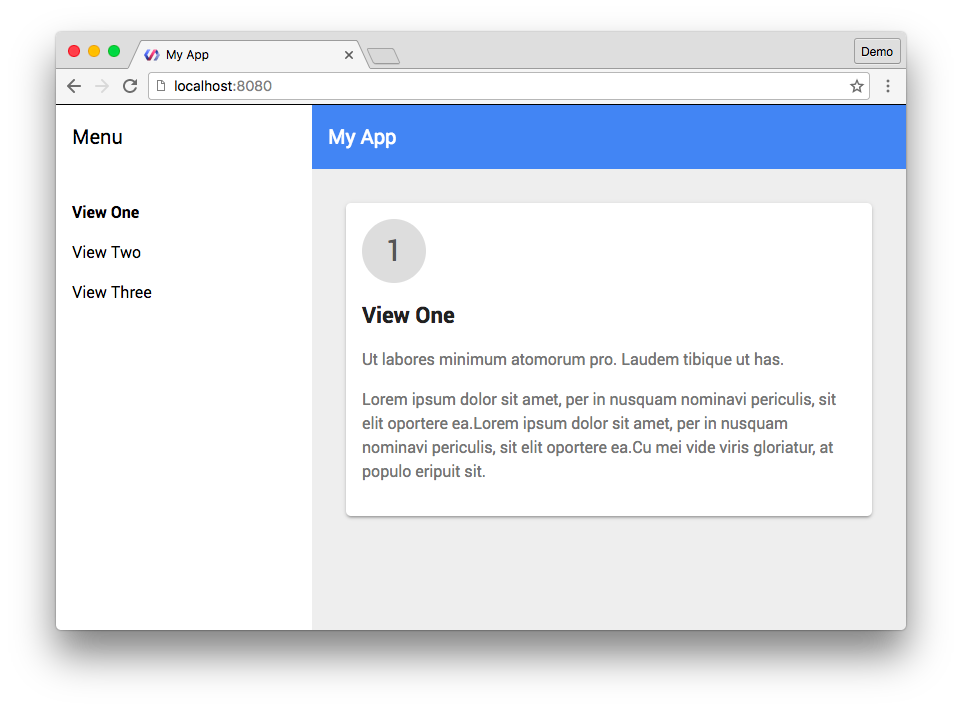
The task above automatically opens up your default web browser and
fetches the locally-hosted application (at http://localhost:8080).

Initialize Git repository (optional)
Your app template does not contain any version control system. Follow the instructions below if you want to manage your source code with Git.
-
cdinto the base directory of your project. -
Initialize a Git repository.
git init -
Add and commit all of the files.
git add . && git commit -m "Initial commit."
Directory structure
The diagram below is a brief summary of the directories within the template.
/
|---index.html
|---src/
|---bower_components/
|---images/
|---test/
index.htmlis the main entry point into your applicationsrc/is where your application-specific custom elements will gobower_components/is where reusable custom elements and/or libraries fetched via bower will goimages/is for static imagestest/is where you define tests for your web components.
Next steps
Now that your App Toolbox template is up and running, learn how to add a new page of content, or how to deploy the app to the web.

 You're viewing an older version of Polymer.
Please see