In this step, you'll deploy your application to the web.
Build for deployment
Type polymer build to build your Polymer application for production.
You can serve different builds of your app to browsers with different capabilities. The Polymer Starter Kit is configured to create three builds:
- A bundled, minified build with a service worker, compiled to ES5 for compatibility with older browsers.
- A bundled, minified build with a service worker. ES6 code is served as-is. This build is for browsers that can handle ES6 code.
- An unbundled, minified build with a service worker. ES6 code is served as-is. This build is for browsers that support HTTP/2 push.
In this step, you'll deploy the bundled, compiled build (es5-bundled) for maximum compatibility. Serving the other builds requires a more complex serving setup.
Builds are configured in the builds object in polymer.json, a configuration file in the root project folder:
polymer.json
...
"builds": [
  {
    "preset": "es5-bundled"
  },
  {
    "preset": "es6-bundled"
  },
  {
    "preset": "es6-unbundled"
  }
]
...
The builds will be output to subfolders under the build/ folder as follows:
build/
  es5-bundled/
  es6-bundled/
  es6-unbundled/
To configure a custom build, you can use command line options, or edit polymer.json. Run polymer help build for the full list of available options and optimizations. Also, see the documentation on the polymer.json specification and building your Polymer application for production.
Deploy to a server
Polymer applications can be deployed to any web server.
This template uses the <app-location> element to enable URL-based routing,
which requires that the server serve the index.html entry point for all
routes.
You can follow one of the sections below to deploy this app to either Google AppEngine or Firebase Static Hosting, which are both free and secure approaches for deploying a Polymer app. The approach is similar for other hosting providers.
Deploy with AppEngine
-
Download the Google App Engine SDK and follow the instructions for your platform to install it. This tutorial uses the Python SDK.
-
Open the project dashboard and create a new project.
- Click the Create Project button.
- Type a project name.
- Click the Create button.
The App Engine gives you a project ID based on the name of your project. Make note of this ID.
-
cdinto the main folder for your app (e.g.my-app/). -
Create an
app.yamlfile with the following contents:runtime: python27 api_version: 1 threadsafe: yes handlers: - url: /bower_components static_dir: build/es5-bundled/bower_components secure: always - url: /images static_dir: build/es5-bundled/images secure: always - url: /src static_dir: build/es5-bundled/src secure: always - url: /manifest.json static_files: build/es5-bundled/manifest.json upload: build/es5-bundled/manifest.json secure: always - url: /service-worker.js static_files: build/es5-bundled/service-worker.js upload: build/es5-bundled/service-worker.js secure: always - url: /.* static_files: build/es5-bundled/index.html upload: build/es5-bundled/index.html secure: always -
Set your project id to the ID given to your app by the App Engine. For example:
gcloud config set project my-app-164409 -
Create your app:
gcloud app createYou will need to select a region for your app to be deployed in. This can't be changed.
-
Deploy your app:
gcloud app deploy -
Your app will be available online at its designated URL. For example:
https://my-app-164409.appspot.com/new-viewOpen your app URL in your browser by typing this command:
gcloud app browse
Deploy with Firebase
The instructions below are based on the Firebase hosting quick start guide.
-
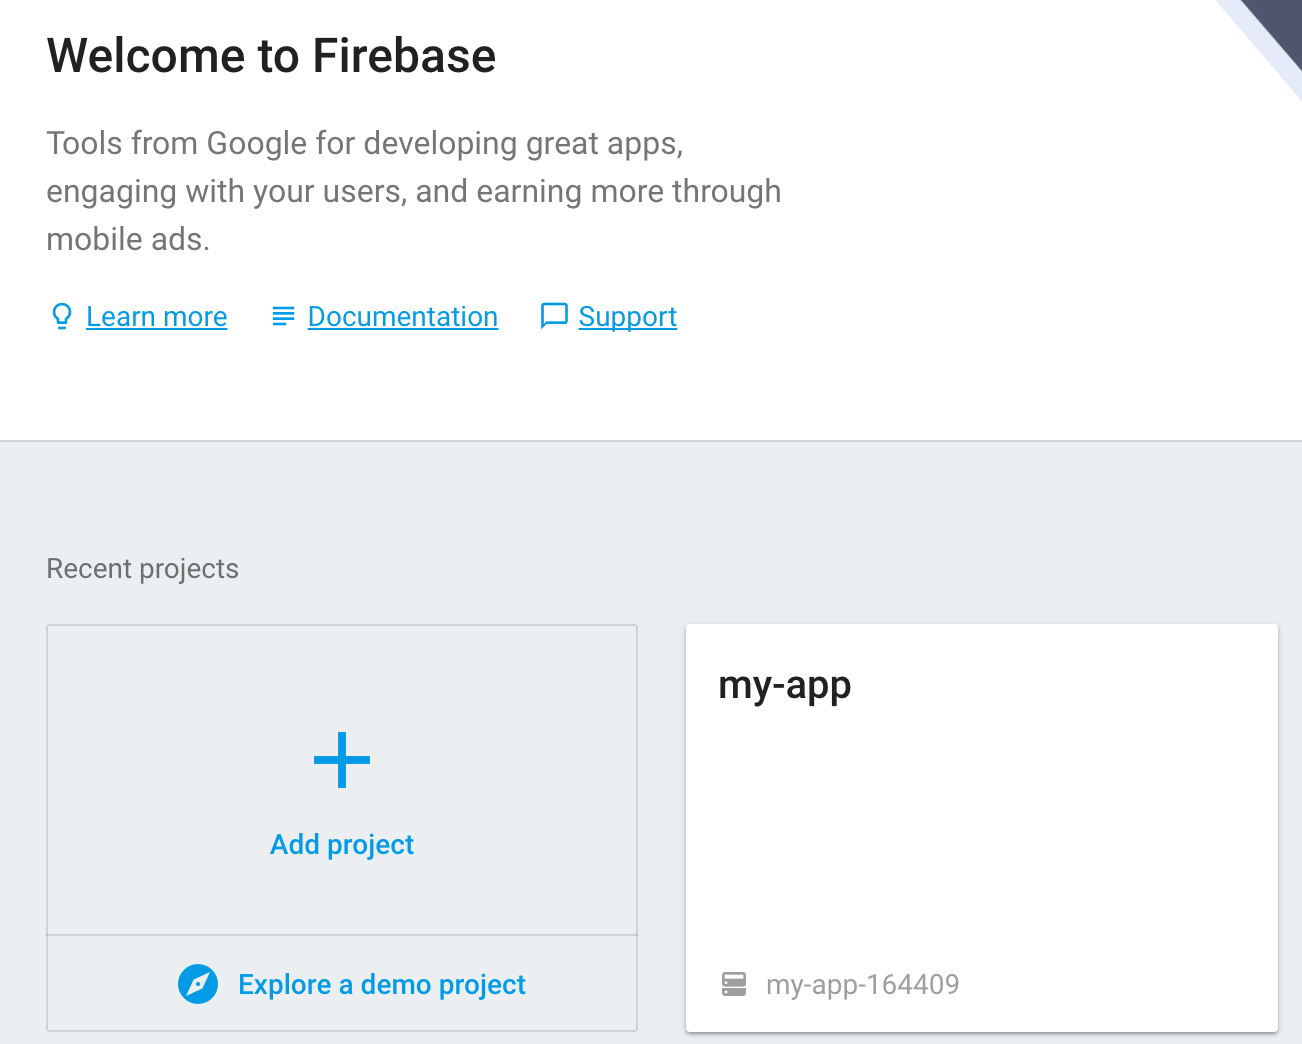
Go to https://www.firebase.com/account to create a new app. Make note of the project ID associated with your app.

-
Install the Firebase command line tools.
npm install -g firebase-tools -
cdinto your project folder. -
Inititalize the Firebase application.
firebase login firebase init -
Firebase asks you for a project to associate with your app. Select the one you created earlier.
-
Firebase asks you the name of your app's public folder. Enter
build/es5-bundled/. -
Edit your firebase configuration to add support for URL routing. The final
firebase.jsonfile should look something like this:{ "hosting": { "public": "build/es5-bundled/", "rewrites": [ { "source": "**/!(*.*)", "destination": "/index.html" } ] } }This instructs Firebase to serve up
index.htmlfor any URLs that don't otherwise end in a file extension. -
Deploy your project.
firebase deployThe URL to your live site is listed in the output. You can also open the site in your default browser by running
firebase open hosting:site.
