Now that you've added a new view to your application, you can start building out the details of that view.
In the process, you'll likely want to turn to some off-the-shelf components, for example from webcomponents.org.
Install an off-the-shelf component
Once you've identified a component you'd like to install, you'll want to find the bower package name for the component.
In this step, you'll add Polymer's <paper-checkbox> element to your app, which is listed on
webcomponents.org. You can use Bower to install it.
Run this command from your project root directory:
bower install --save PolymerElements/paper-checkbox
Add the element to your application
-
Open
src/my-new-view.htmlin a text editor. -
Import
paper-checkbox.htmlas a dependency.Add this import beneath the existing import for
polymer-element.html:<link rel="import" href="../bower_components/paper-checkbox/paper-checkbox.html"> -
Add the
<paper-checkbox>element to the template for the element.<paper-checkbox>Ready to deploy!</paper-checkbox>You can add it under the
<h1>you added in the previous step. Your new template should look like this:<!-- Defines the element's style and local DOM --> <template> <style> :host { display: block; padding: 16px; } </style> <h1>New view</h1> <paper-checkbox>Ready to deploy!</paper-checkbox> </template>
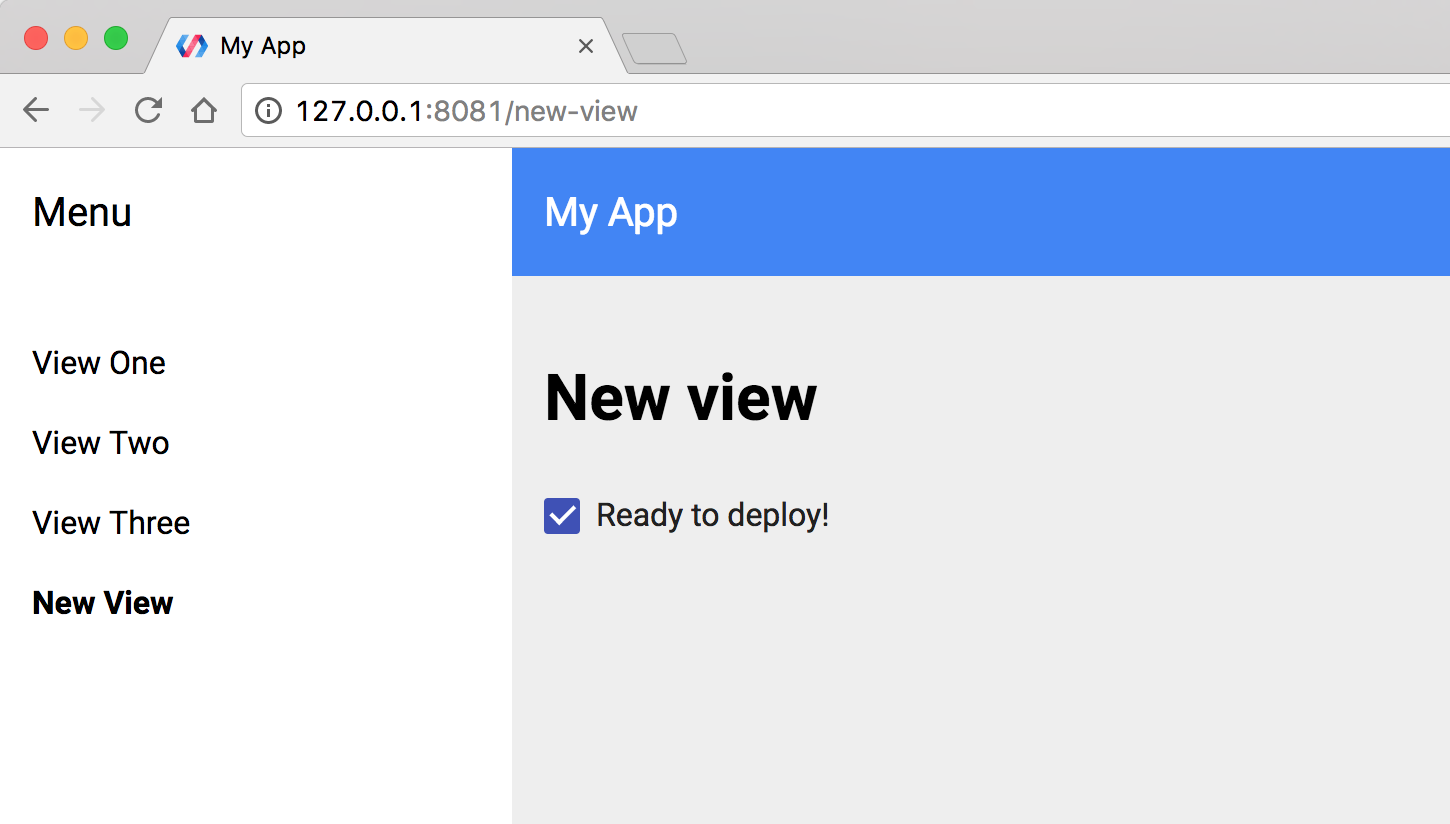
You should be able to see the paper-checkbox working in your new view now:
Next steps
Now that you've added a 3rd-party component to your page, learn how to deploy the app to the web.