Of course, a button isn't a button if you can't click it.
To toggle the button, we will add an event listener. To ensure that gesture events work the same way across different browsers, we'll use the GestureEventListeners mixin. This mixin provides a tap event that works like the standard click event on desktop browsers, and like a native tap event on mobile browsers.
A mixin is a class that defines a set of related functions and is never instantiated. When you use a mixin class, you inherit only its behaviors. For more information, see Justin Fagnani's blog post: "Real" Mixins with JavaScript Classes.
Import the Polymer.GestureEventListeners mixin by adding it to the HTML Imports in icon-toggle.html:
icon-toggle.html
<link rel="import" href="../polymer/polymer-element.html">
<link rel="import" href="../polymer/lib/mixins/gesture-event-listeners.html">
<link rel="import" href="../iron-icon/iron-icon.html">
Use the mixin in the class declaration:
<script>
  class IconToggle extends Polymer.GestureEventListeners(Polymer.Element) {
  ...
</script>
To toggle the button, add an event listener. To add event listeners on the host element (in this
case, icon-toggle), place the listener in the constructor after its existing content:
icon-toggle.html: Before
constructor() {
  super();
}
icon-toggle.html: After
constructor() {
  super();
  Polymer.Gestures.addListener(this, 'tap', () => this.toggle());
}
When working with gesture events, you use the Polymer.Gestures.addListener method in place of the
standard addEventListener method.
Add a method to toggle the pressed property when the button is pressed. Place it inside the class
definition for IconToggle, after the constructor.
icon-toggle.html
    toggle() {
      this.pressed = !this.pressed;
    }
Your code should now look something like this:
icon-toggle.html
<script>
  class IconToggle extends Polymer.GestureEventListeners(Polymer.Element) {
    static get is() {
    return "icon-toggle";
    }
    static get properties() {
      return {
        pressed: {
          type: Boolean,
          notify: true,
          reflectToAttribute: true,
          value: false
        },
        toggleIcon: {
          type: String
        },
      }
    }
    constructor() {
      super();
      this.addEventListener('tap', 'toggle');
      Polymer.Gestures.addListener(this, 'tap', () => this.toggle());
    }
    toggle() {
      this.pressed = !this.pressed;
    }
  }
  customElements.define(IconToggle.is, IconToggle);
</script>
Key information:
-
For class-style elements based on Polymer.Element, you need to explicitly add gesture support by importing and using the Polymer.GestureEventListeners mixin:
<link rel="import" href="polymer/lib/mixins/gesture-event-listeners.html"> -
Use the standard
addEventListenermethod to add event listeners imperatively. -
The
tapevent is generated by Polymer's gesture system when the user clicks or taps on a target with a mouse or finger.
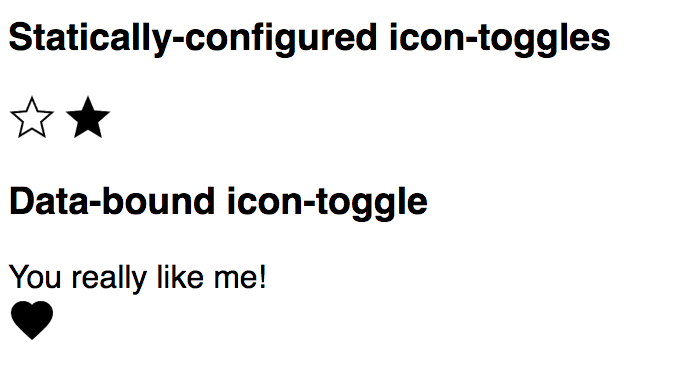
Save the icon-toggle.html file and look at the demo again. You should be able to press the button and see it
toggle between its pressed and unpressed states.
Learn more: data binding. To see how the demo works, open demo-element.html
and take a look around (if you downloaded the code, you'll find this file in the demo folder.)
Yes, the demo for this element is also an element. The
element uses two-way
data binding and a computed
binding to change the string displayed when you toggle the button.